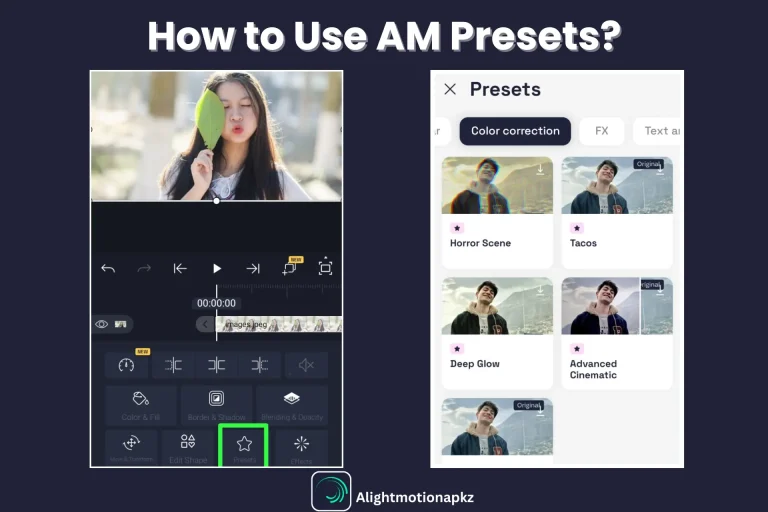
How to Add Keyframes in Alight Motion? In-Depth Guide
How can you create eye-catching and smooth animation in Alight Motion APK? Can you create object motion using a keyframe in this application? Keyframe is a Pro editing feature for your needs!
Keyframes support you to adjust size, movement, rotation, and more. Here, we will provide full information about how you can insert and utilize keyframes in clear steps. Regardless of whether you are a novice or an experienced video editor, this blog can boost your editing experience. Scroll down to learn more.
What are Keyframes?
Keyframes in Alight Motion MOD APK are necessary for creating attractive and smooth animations. This feature helps you handle when and how elements move by adjusting initial and final points on a timeline. Between these notes, Alight Motion creates an animation of items automatically.
You can modify objects such as position, rotation, and size using keyframes. For example, if you want to create an animation of a ball jumping, you adjust keyframes for its motion as it jumps up and down. This feature helps you to create effective visual effects in both 2D and 3D video projects. In case you need to make an impressive animation, it becomes very necessary to know how to apply keyframes.
Basic Types of Keyframe Animation in Alight Motion
There are different types of keyframes in this application. By utilizing them, you can make professional and smooth animation. Here we’ll discuss some important keyframe types.
Linear Keyframe
Linear keyframes are used to make straight lines and smooth motion with a uniform speed for the starting point and ending point. Here, creating the animation is predictable and studied instead of an immediate increase or decrease in the speed of objects during their movement. These features of Alight Motion are very easy to use and create a uniform movement of things.
Application
This feature is perfect for simple actions such as sliding from left to right or up to down at a regular speed.
Hold Keyframe
This type of keyframe helps to maintain an item’s present size, state, or position constant up to a fresh keyframe emerges. This type of keyframe does not offer any steady animation and creates sudden changes in the movement of objects during their animation.
Application
Best for presenting a rapid change in object motion or scene transition, like a lamp toggling.
Easing Keyframe
Keyframe modifies animation speed (progressively) slowly rather than holding it steady, making a more uniform and natural movement. By using keyframes, you can create attractive visual effects and create more professional and natural animation. There are three more types of easing keyframes.
Ease In
Animation starts slowly, then gradually increases in speed toward the end, making a natural and steady start in the movement of the object in Alight Motion.
Ease Out
Animation begins suddenly and decreases its speed at the end, providing a smooth and professional end to the motion effect of the object’s movements.
Ease in Out
Animation initiates slowly, accelerates toward the middle point, and decelerates again toward the endpoint for a smooth and balanced motion of the object.
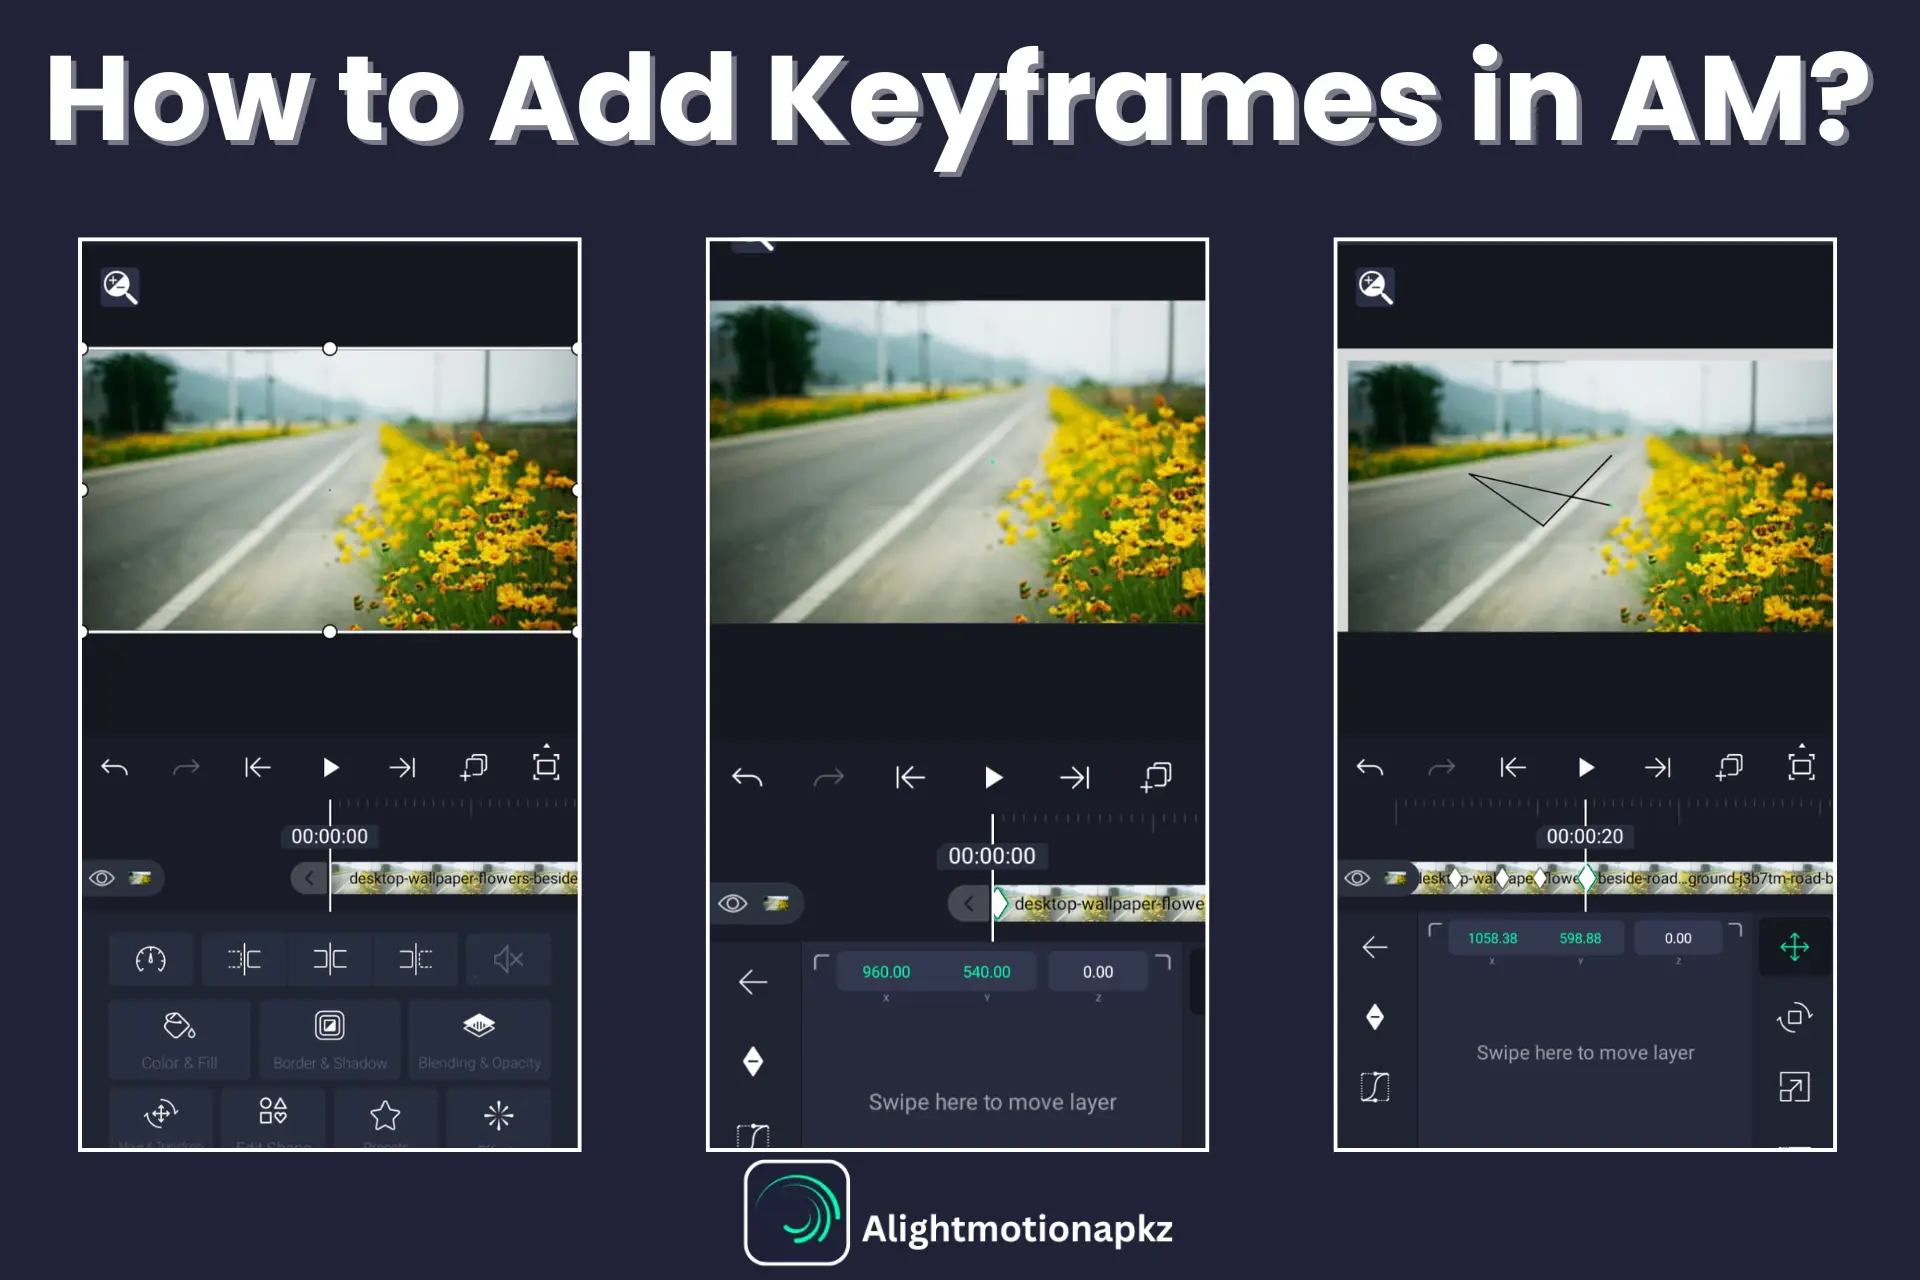
How to Add Keyframes in Alight Motion?
Adding keyframes in this app is very simple and fun if you follow some basic steps. These basic steps are:
Step 1: Start the application, then open a saved project or make a new project.
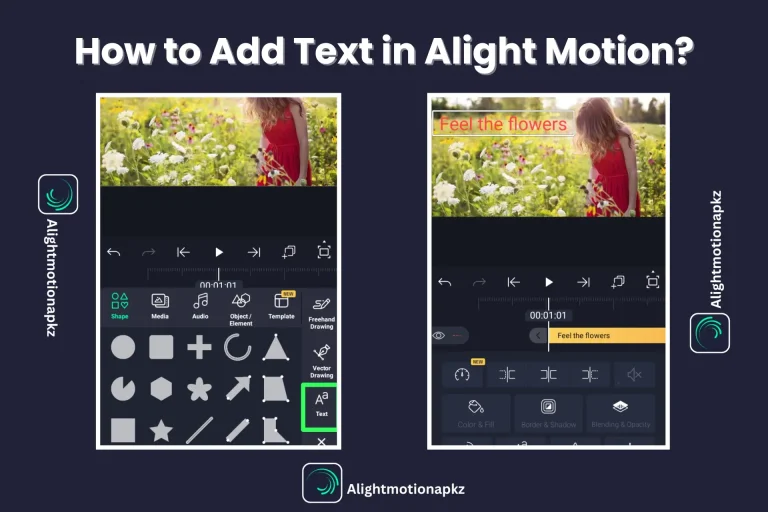
Step 2: Choose different things, like shape, image, or text, that you try to animate.
Step 3: Tap on the “move & transform” button from the menu bar.
Step 4: Adjust the timeline indicator from the initial point. After this, click on the “diamond shape” icon to add a keyframe.
Step 5: To add more keyframes according to your requirement, again move the timeline cursor and click on the keyframe icon.
Step 6: For altering properties of layers like rotation, size, opacity, or position, select different types of keyframes, such as Linear, Hold, or Easing keyframes, for creating effective animation.
Step 7: After completing this process, you can check your animation, movement of objects, and remove your mistakes.
Step 8: Finally, save the project or export it according to your requirement format.
By following this method, you can create impressive animations and be able to share them.
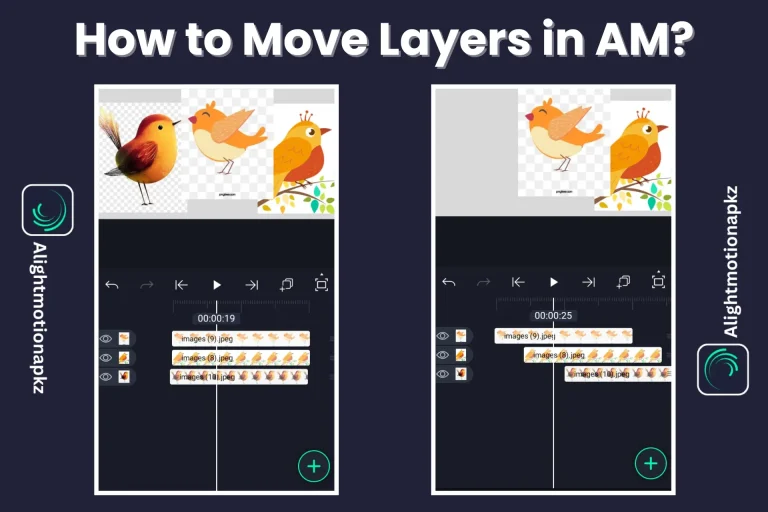
How to Copy and Paste the Keyframes in Alight Motion?
To save your time and increase productivity, copying and pasting keyframes in this app becomes useful for you. There is no need to create the same keyframe in different projects again and again.
This feature not only increases your work efficiency but also increases editing speed and gives a professional look to your project. You can smoothly copy and paste keyframes by following these simple steps:
Step 1: Start your previous project, then select a layer that has keyframes.
Step 2: Select the “Copy Layer” option to copy keyframes.
Step 3: Select your desired layer where the copied keyframes will be pasted.
Step 4: Now, again click the layer icon, tap the arrow icon, and choose the “Paste Style” option.
Step 5: A dialogue box will open, select the properties or style that you need to add.
Step 6: Tap the “Paste” option to add the copied keyframes.
Note
Confirm that you paste keyframes into the right layer where you need them. Just select only those keyframes that you want to copy.
Why Should You Use Keyframes in Alight Motion?
To get full control of your animation, this feature of Alight Motion Pro APK becomes very important. Because, by using keyframes, you can create attractive animation in your content, which contains natural-looking movement, smooth transition, and motion of objects with every detail, such as size, position, and rotation of objects.
This keyframe feature saves your time by automatically adding frames between the starting and ending points. This feature also offers simple and complex designs with full accuracy, if you want to animate videos, text, or images. In case you need high-quality animations, then it becomes very necessary to learn how to use keyframes in AM MOD.
Easy Fixing of Problems Related to Keyframes Addition
Are you worried about the improper working of keyframes in Alight Motion? When animations, glitches, and transitions do not work well, your project becomes frustrating. In this blog, we will discuss some problems as well as the solutions that you are facing during the keyframes addition process.
Keyframes Not Updating on Timeline
In some cases, keyframes do not appear or save on the timeline. This problem arises when you do not tap on the checkmark or the incorrect layer. So, cross-check all layers are arranged and save your project properly.
Animation Lagging
In case your animation feels choppy or lags, it means your project size or preview quality may be very high. To resolve this problem, you should decrease the number of keyframes, preview quality, and clear unwanted space for steady animation playback.
Keyframes Movement Seems Unnatural
If you are using linear motion every time or do not have evenly spaced keyframes, your animations give an unnatural or rough look. To resolve this issue, you can adjust the timeline accurately and use the Easy type of Keyframes.
Layers Aren’t Responding Properly
Sometimes layers do not work well when you want to adjust the keyframe or add any other effect, such as scaling. So, you need to check the timeline and ensure all layers are arranged accurately in the layer panel.
Keyframes Edit Not Displaying
Periodically, when you are at the wrong layer or frame, you can not see any modification in your animation after changing the keyframe. Therefore, choose the right layer or restart the Alight Motion app to resolve this issue.
Layer Movement Issues
When you add keyframes with incorrect properties, such as position or scale, your layer jumps unexpectedly. So, remove unwanted keyframes, check the graph editor, and make sure you have smooth animation by modifying the curve accurately.
Conclusion
Learning how to add keyframes in Alight Motion MOD APK becomes helpful for you to make dynamic animation, steady animation, and high-quality video content with easy steps. This feature saves your editing time, improves creativity, and also offers you complete control over object motion.
In case you are a new or expert user, additions of keyframes in this app is very easy and gives a Pro-level editing experience. With continuous practice and learning more about this feature, you can improve your editing skills in the animation of objects.